Saturday, September 20, 2014

Winner's & Sharing Tips!

I had the opportunity to participate in the 
"See You In September" blog hop.
The post is directly under this one or
 click here to read.

To answer questions and comments, 
I figured I would answer them today.

As for the:

Square Ruler Runner
To get the square shape-miter the corners.
 I suggest pinning it first to make sure it falls 
the way you want before sewing. 
For the length-having all pieces exactly the same length is
 what will make it square.
I hemmed both sides before mitering.


The Cooler Table
This was when it was started!

Perfect outdoor table!
This is the table I saw for inspiration.
Type in "Cooler Table" on Pinterest for more styles.


iPad/iPhone Stand


This is explained by Michele at Factotum Of Arts 
there is nothing I can add here.
Except this is a exceptionally fast project and
perfect for a quick gift or Christmas!


Save The Gingham Quilt


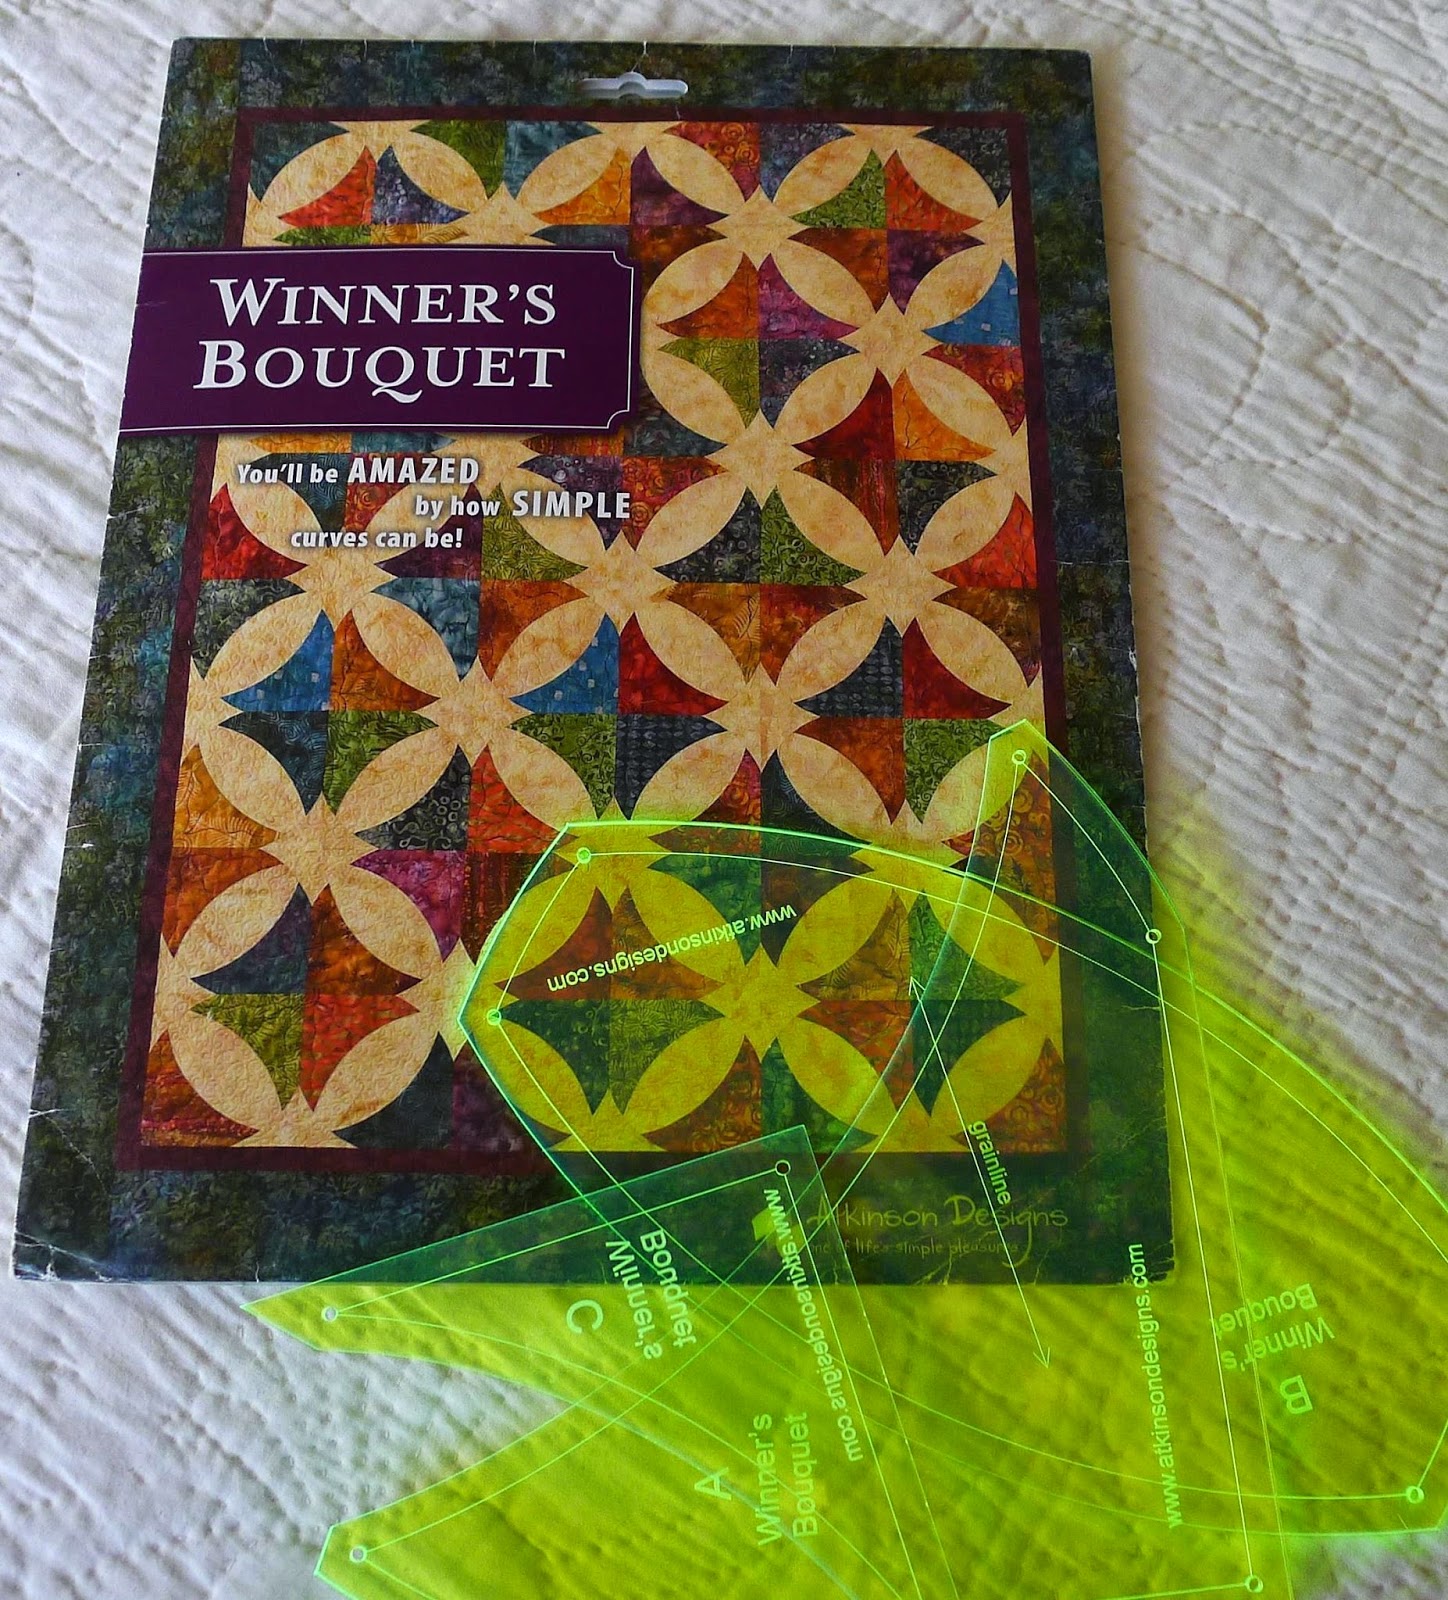
For the pattern I used the Winner's Bouquet templates.
I suggest using the registration marking holes
 on the template when piecing. 
Just makes life easier!


AND THE TWO WINNERS ARE!


Love all your projects specially the quilt caught my eye.Fabulous quilting!

and 


Great projects and a beautiful gingham quilt. What wonderful quilting too.

Congratulations!

I will contact both of you for addresses.
 Please respond within the week so I can send you the gifts!


Till We Quilt Again,

Monday, September 15, 2014

Happy To "See You In September"-My Day!

Welcome
On This Wonderful September Fall Day!


Today I get to show three projects I've made over the summer. 
One of the projects is to include Riley Blake Gingham fabric.
(Plus I have included a Giveaway!)


Let's begin on our back deck! 
#1
Square Ruler Table Runner


My hubby and son recently made this great table for our deck.  
There is a hidden compartment in the center 
for ice, beverages, flowers or food!
I wanted to make something special for when the girls are here!
The instructions are Here.
However--I had to change things and make it a little different!


The idea for the squared table runner came from making
 these this past Christmas for my quilting friends!


#2
iPad Stands (Two)


This one is for my mom!


And this one I am keeping!

I have already watched several quilt classes from this stand.


Have also found that you can prop a 
quilt/cook book, when you need to following along.


This also can be used with your iPhone too!


Click here for iPad stand 
tutorial by Factotum Of Arts


#3
Project "Save The Gingham" click here


Is this Traditional, Modern or Contemporary?
I am not sure!


The Giveaway is for 2 people!
There are  two "Sweet Celebrations"
 by Moda Bake Shop Chefs books each with a 
1/2 yard of gingham apron fabric.
Isn't this so.....appropriate?


I will send anywhere!


You do not have to follow to win!
Just leave a comment for 1 chance.

2nd chance...
As a thank you, if you are or just became a follower, leave an
additional comment telling me how you follow.


The giveaway closes midnight 9/19,
I will announce the winner on the  9/20.


Thank You to Madam Samm at Sew We Quilt for hosting and 
Sheri at Living With Purpose for cheerleading this fun Blog Hop! 
 Be sure you visit the other blogs on the hop! 
Here is today's schedule!

Monday, September 15
I Piece 2-Mary
                      Till We Quilt Again (this is me)
Vroomans Quilts
                                          Nini and the Sea (my partners in crime!)
Seams To Be Sew 


Till We Quilt Again,


Linked at:
Nini And The Sea-Weekly Inspiration Linky Party
Week End Bloggy Reading
Anything Goes Mondays

Friday, September 12, 2014

Friends On Friday~Valencia


Valencia
It is hard to tell the front from the back.
Two quilts in one !
The Front!


The Back!


The Journey!


Pattern-HST & Nine Patch Blocks
Size-86 X 110
Batting- Warm & Natural
Quilting-Panto-"Whole Lotta Love"


Till We Quilt Again,


Thursday, September 11, 2014

How I Blocked It!

Grab your coffee, we could be here awhile!


What I use.
My home made hinged portable design board.
(many styles can be found all over the web).


Portable design wall when open. 
(I made 23 of these for our retreat one year--I know CRAZY!)


I found this little gem of a
 tool while looking for my husbands metal square.
It is a Laser Level & Square.
(OK- Go check his tool box~ I will wait!)

So now his is OURS and it lives in the sewing room and hubby can barrow whenever he wants!

This can be found in any hardware store!


Painters tape & a tape measure is a must!


Water bottle to spritz!


Allot of 
T~Pin's


-----------------------------------------------------------------


Onto The Blocking


There are many ways to Block, just look around the web!
I am not claiming that this is the right way.
Its just my way!
This post has most of the steps I use when blocking.


My board is normally a mess well loved so 
I start with a quick vacuum.
Tape sticks much better this way!


----------------------------------------------------------


The most important thing is the numbers!
The center of the quilt width and the length.


---------------------------------------------------------


Lay your tape out according to those numbers.
I start with the laser square in one corner and
 start with the tape there.

You can see where I laid the tape on the bottom left.


And the tape on the right.
(the quilt is serving no purpose but just laying there)


                 Taped to be the exact measurement numbers. 


-----------------------------------------------------------


When board is taped on all four sides.
I then take the quilt (not the board) and submerge it in the tub or sink and have a spritz water bottle to help if more water is needed.
If the quilt has allot of bias it can be very uneven as this one is.

The wetter the better!


As you can see this quilt is WAY OFF!


---------------------------------------


Start by anchoring a corner and every few inches working your way down the sides. All awhile inserting the T pins as you are lining the edge up with the tape.


As you pin along--you will be putting pins in much closer.
 About every 1/2 to 3/4's inch apart.


~Word for the faint hearted~
You may produce a faint sweat when pulling and tugging but this will not constitute a cardio work! 
Fitness Pal has no calorie count listed anywhere for Blocking!
I LOOKED!!


And rest assure that if you quilt the heck out of things, 
as I do, it will not rip doing this process!
Unless you are too far off!


(Sorry so dark)
I have found, that if the quilts fits on the portable design wall I can lay it on top of my longarm, under the fan, over night 
(could be on chairs too)
This usually is dried by the morning.


Tips!
If you iron, never ever--ever--ever use steam after it has been blocked unless you 
want to Block it again or just don't care to have a square piece.
(I never block a bed quilt!)

Also that means it can not go in the wash. 
You just have to do the old broom-wack cleaning method!

If you are blocking a quilt that was in a swap, such as this one. 
Remember not all colors are created equal some might run!


Other than that--it is really quit simple and lets people
think you are a Highfalutin Professional!
Cause we all know you are!


All Done!


If you want the full story on this quilt you can
 read yesterdays post
Here!


Also today is another day of
"See You In September" blog hop!
Here is the line-up